10 Gardening Mistakes That Kill Young Plants
Most young plants fail for the same handful of avoidable reasons. Here are ten early-season mistakes, from overwatering to rushing the hardening-off, and how to prevent each one.
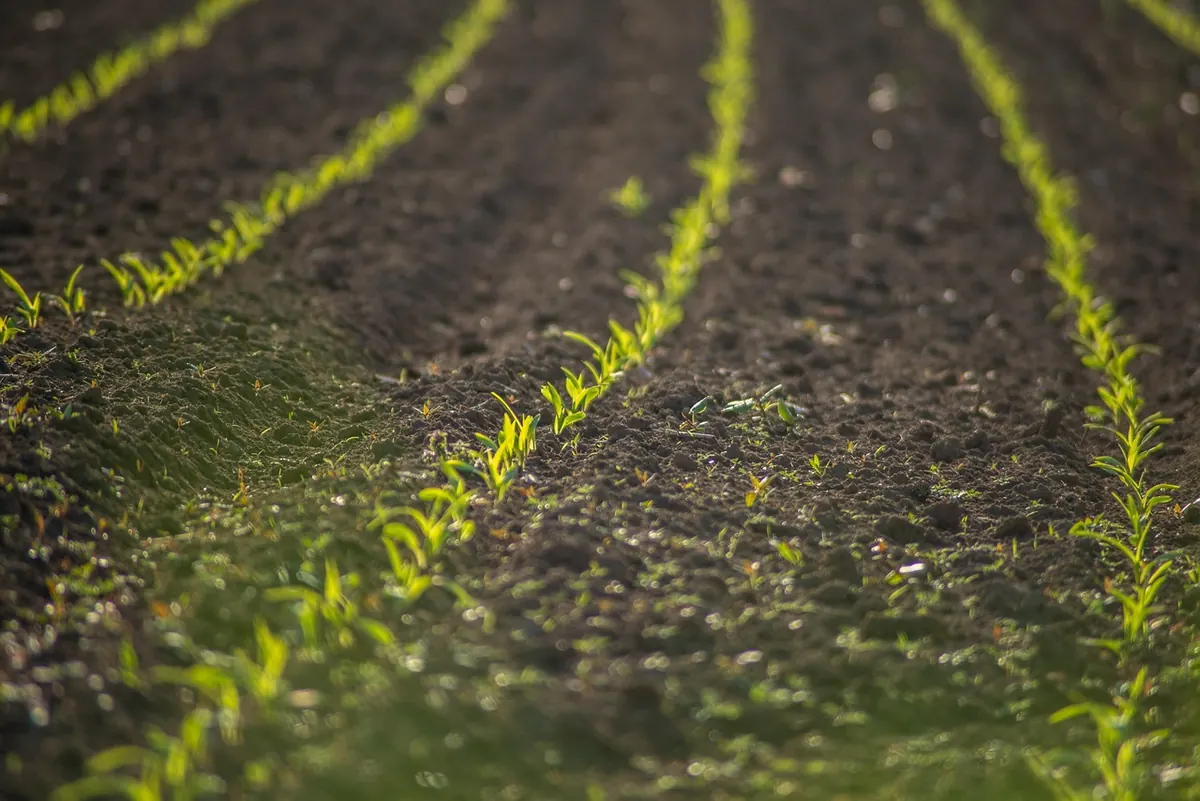
Most young plants don't fail dramatically. They sulk for a week, go pale, then flop — and by the time you notice, the cause is usually three days in the past. The good news is that the culprits are almost always the same handful of errors, and each one is easier to prevent than to fix. What follows is the checklist worth running through in the first six weeks of the season, whether you're raising tomatoes on a windowsill or setting lettuce out into a raised bed.
1. Watering by the calendar instead of by the soil
Overwatering kills more young plants than drought ever will. Roots need air as much as water, and a pot that stays constantly wet slowly suffocates them. Seedlings in particular are vulnerable to damping off, a fungal problem that pinches the stem right at the soil line and topples a healthy-looking plant overnight. By the time you see it, the tray is usually lost.
Learn to check instead of guessing. Push a finger into the compost up to the first knuckle: if it's damp and cool, wait. Lifting a small pot tells you a lot too — a wet pot is heavy, a dry one is startlingly light. When you do water, water properly, until it runs out of the drainage holes, then empty the saucer ten minutes later. Little daily sips encourage shallow roots and leave the lower compost bone dry.
Watch for the early warnings: yellowing lower leaves, a green film of algae on the surface, tiny black flies around the tray, or a sour smell from the compost. All of them mean the roots are staying too wet. Water in the morning rather than at night, keep foliage dry where you can, and make sure every container has holes that actually drain.
2. Rushing the season
A sunny afternoon in early spring is a trap. The air can feel warm while the soil six inches down is still cold, and cold soil is where young plants stall. Roots stop working, leaves go purple or yellow, and the plant sits there for a fortnight losing ground it never quite makes up. Tomatoes, peppers, basil, courgettes and beans are the ones that suffer most; peas, broad beans, chard, brassicas and lettuce will shrug off much cooler conditions.
Check the forecast rather than the date, keep an eye on your local last-frost timing, and use fleece, cloches or a cold frame to buy a couple of weeks if you're impatient. A plant set out two weeks later usually overtakes one that went out early into cold ground. Patience here is not caution for its own sake; it's simply faster in the end.
3. Hardening off in a single afternoon
Plants raised indoors or under glass grow soft leaves with a thin protective skin. Put them straight out into sun and wind and those leaves scorch, showing white, papery patches on the sun-facing side, or wilt in a way that never fully recovers. Hardening off is the slow introduction that builds that protection, and it can't be compressed into one day.
A workable sequence for most seedlings:
- Days 1–2: one hour outdoors in a sheltered, shaded spot, mid-morning.
- Days 3–4: two to three hours, with a little gentle morning sun.
- Days 5–6: half a day outside, more sun and a bit of breeze.
- Days 7–9: out for the full day, back in at night.
- Day 10 onward: leave out overnight once nights are mild, then plant out.
Start on a cloudy, still day if you can, and step back a stage if you see scorch. Ten days of shuffling trays is tedious, but it's the difference between plants that settle in and plants that spend a fortnight recovering.
4. Feeding seedlings like established plants
Seed compost is deliberately lean, because a seedling with two leaves has almost no nutrient demand. Pouring on a full-strength feed at that stage burns the fine root hairs and shows up as brown, crisp leaf edges, stalled growth, or a pale crust on the surface of the compost. Overfed plants also grow soft and lush, which is exactly what aphids are looking for.
Start feeding once plants have a few true leaves and have been moved into their own pots, and use half the recommended strength to begin with. Similarly, be wary of filling seed trays with rich garden compost or fresh manure; it's fine for hungry established crops, but it's too much for a seedling, and it makes root crops like carrots fork and twist.
5. Planting at the wrong depth, and handling roots too roughly
Depth
Tomatoes are the exception: they grow roots along a buried stem, so a leggy plant can go in deep and benefit. Most other seedlings should sit at exactly the level they were in their pot. Burying the stem of a pepper or a lettuce, or the crown of a strawberry, invites rot, and the plant rarely recovers.
Roots
Never lift a seedling by its stem. Support the root ball from below, turn the pot upside down with your fingers either side of the stem, and let it slide out. If roots are circling the edge, tease a few loose with your fingers; if it's a cucumber, courgette or poppy, leave the root ball intact because they resent disturbance. Water the hole before planting, then water again afterwards to settle the soil around the roots. Plant in the evening or on a cloudy day, and firm the soil gently with your knuckles rather than stamping on it.
6. Crowding plants and starving them of light
Sowing thickly feels generous and is one of the most common early-season errors. Seedlings that touch each other compete for light, stretch, and create the damp, still conditions where damping off spreads fastest. Thin as soon as you can, snipping the weakest seedlings off at soil level with scissors rather than pulling them, which disturbs the roots of the ones you're keeping.
Light is the other half of the problem. A windowsill looks bright to us but delivers light from one side only, so seedlings lean and stretch toward the glass. Turn trays a quarter turn each day, and give anything you're raising indoors the brightest spot you have. Leggy growth can't be undone — you can bury the stem a little deeper at planting, but preventing it is far easier than repairing it. When plants go out, set them at their final spacing rather than cramming extras in "just in case"; you'll be thinning them later otherwise.
A six-week checklist
If you remember nothing else, run through this before you pick up the watering can or the trowel:
- Check the compost an inch down, or by the weight of the pot, before watering.
- Make sure every container drains, and empty the saucers.
- Sow thinly, then thin to the spacing on the packet.
- Give seedlings the brightest spot available and turn them daily.
- Move plants outdoors in stages over a week or more.
- Feed only once true leaves are out and plants are potted on, at half strength.
- Plant at the same depth as before, water in, and firm gently.
- Walk the beds on mild, damp evenings looking for slugs and for the first papery scorch.
None of it needs special equipment. Mostly it needs a week of patience and the habit of looking closely at your plants once a day. Do that, and most of what goes wrong in spring simply won't have the chance to start.
Photo: fotos1992 / Pixabay