How to Grow Tomatoes in Containers from Seed to Harvest
A practical guide to raising tomatoes in pots, from sowing seed indoors and choosing the right container to watering, support, and picking fruit at its best.
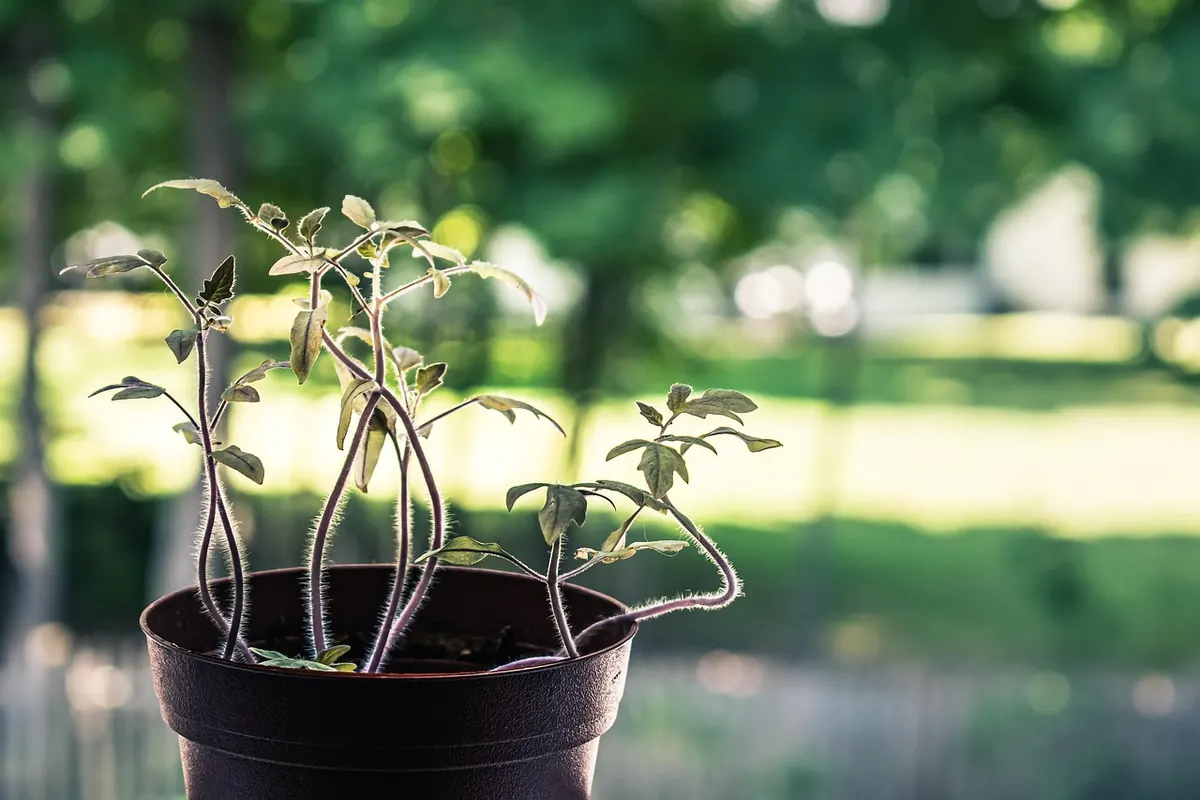
Supermarket tomatoes are picked hard and green so they can survive the journey. A tomato grown in a pot is picked when it is soft and warm from the sun, and that gap in flavour is the whole reason people bother. Containers suit tomatoes surprisingly well: you control the soil, you can shift the pot when the weather turns, and one plant on a balcony can keep a household supplied through late summer. The catch is that pots are small and tomatoes are hungry, thirsty, fast-growing plants. Get the basics right and the reward is generous.
Choose a variety that fits the pot
Not every tomato belongs in a container. Indeterminate, or vining, varieties keep growing and setting fruit until frost. They can be grown in a large pot against a sunny wall, but they demand tall support and a lot of root space. Determinate varieties stop at a fixed height and ripen their crop in one concentrated flush, which is far less work. Dwarf and micro-dwarf types were bred for small pots and still taste like real tomatoes.
For a first year, cherry tomatoes are the forgiving choice. They set fruit earlier, cope with imperfect watering, and one plant produces more than you expect. If you want larger slicing tomatoes, look for compact varieties rather than the giant beefsteaks, which struggle to fill fruit in a restricted root zone.
Start the seeds indoors
Tomato seeds germinate quickly when warm and sulk when cold. Sow indoors six to eight weeks before your last expected frost. Earlier is not better: seedlings started too soon become leggy and root-bound before the weather allows them outside.
- Fill small pots or modules with fresh seed-starting mix and moisten it thoroughly before sowing.
- Sow each seed about 6 mm deep, one or two per cell, then cover lightly and press the surface down.
- Keep the mix at roughly 21–24°C. A warm cupboard or a heat mat works; light is not needed until the seedlings appear.
- Move them into bright light the moment the first green loop breaks the surface. Fourteen to sixteen hours a day under a grow light, or a south-facing windowsill turned daily, keeps stems short and sturdy.
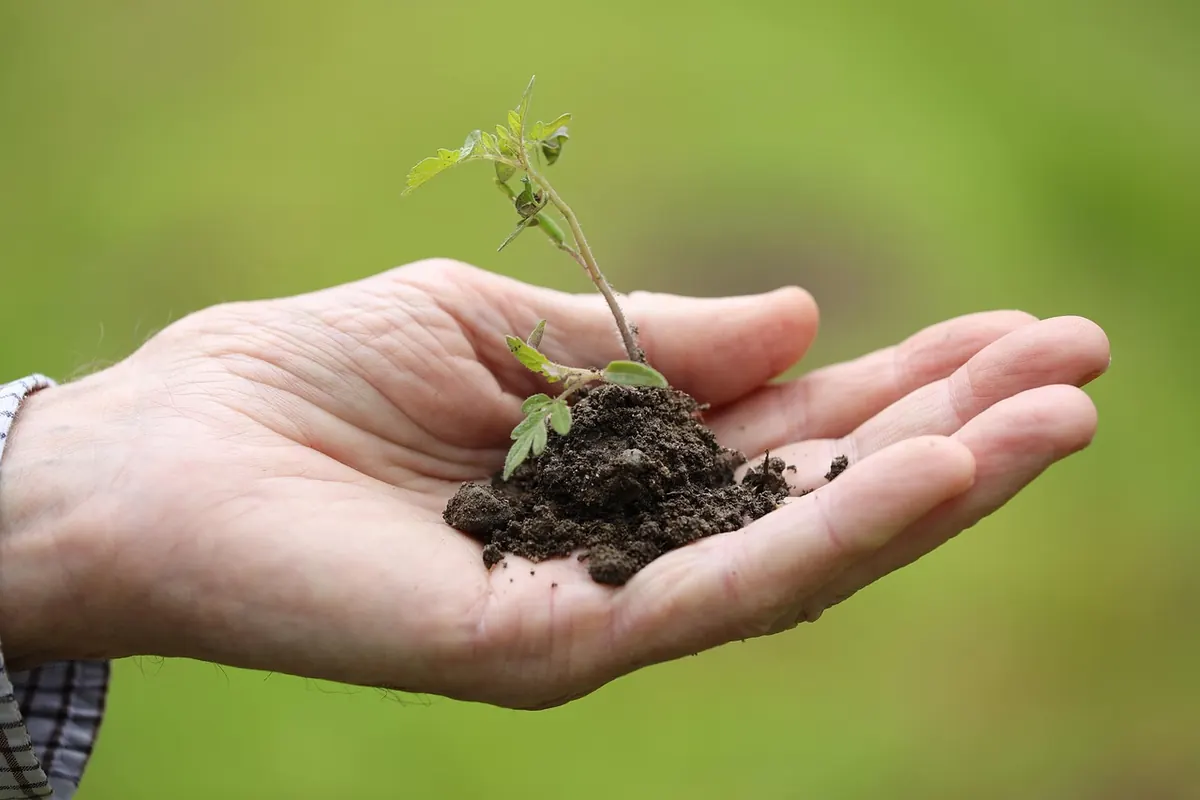
- When each seedling has two or three sets of true leaves, pot it on into a larger container and bury the stem up to the lowest leaves. Tomatoes root along buried stems, which builds a stronger plant.
- Harden them off over a week to ten days, gradually increasing time outdoors, before leaving them out for good.
The pot, the mix and the planting hole
Size matters more than style. A 20–25 litre pot is a sensible minimum for a full-size plant; cherry and dwarf types manage in 10–15 litres. Terracotta dries out faster than plastic, and fabric pots air-prune roots beautifully but lose water quickly on a hot day. Whatever you choose, drainage holes are non-negotiable, and a saucer left full of standing water is an invitation to root rot.
Use a fresh, free-draining potting mix rather than garden soil, which compacts in a pot and may carry disease. Fork in a couple of handfuls of compost and a slow-release fertiliser before planting, and leave the mix level about 2 cm below the rim so you can water without it spilling over the edge. Set the plant deep, up to its first leaves, firm the mix around the stem, and water it in well.
Watering, feeding and the mistakes that cost you fruit
Consistency beats generosity. Tomatoes dislike the swing from bone dry to flooded, and that swing is the usual cause of blossom end rot, the black leathery patch on the base of the fruit. It is not a calcium shortage in the soil so much as a calcium delivery problem: uneven watering stops the plant moving nutrients to where they are needed. Water when the top 2–3 cm of mix feels dry, then soak until water runs out of the bottom. In high summer a small pot may need watering twice a day.
- Water in the morning where possible, at the base of the plant, not over the leaves.
- Mulch the surface with compost or straw to slow evaporation and keep moisture even.
- Push a finger into the mix rather than guessing from the surface, which can look dry while the root zone is wet.
- Feed with a potassium-rich tomato fertiliser once the first fruit has set, every week or two according to the label. Too much nitrogen gives you a magnificent leafy bush and very little fruit.
Support, side shoots and a little shaking
Put the stake or cage in at planting time. Pushing a cane through a mature root ball damages roots and snaps branches. Tie stems loosely with soft twine, leaving room for the stem to thicken.
On indeterminate varieties, pinch out the side shoots that appear in the angle between a leaf and the main stem, once they are a few centimetres long, to keep the plant to one or two strong stems. Do not do this on determinate or dwarf types, which fruit at the ends of their shoots and will simply produce less.
Outdoors, wind does the pollinating. In a greenhouse, on a balcony or during a still, humid spell, fruit set can fail. Tap each flower truss gently with a finger, or flick the support cane, mid-morning when the pollen is dry. Very hot weather also causes flowers to drop, so keep air moving and shade the pot if the afternoon sun is fierce.
How to tell when a tomato is ready
Colour is the obvious signal, but it is not the only one, and a tomato picked a day early tastes flat.
- Even colour across the fruit, with no green shoulder on most varieties.
- Weight — it should feel heavy for its size, full of water.
- Give — a gentle press yields slightly; a rock-hard fruit is not ready.
- Scent at the calyx, the little green star on top, which is strongest when ripe.
Pick in the morning if you can, and leave fruit on the counter rather than in the fridge, which wrecks both texture and flavour. If cold weather arrives with fruit still green, pick them at the first blush of colour and ripen them on a windowsill, or in a paper bag with a ripe banana. Fully green ones are excellent fried or turned into chutney.
Keeping the plant productive to the end
Harvest often. Every ripe tomato you leave on the vine tells the plant its job is done. Strip the lowest leaves as they yellow so air moves around the base, water early rather than late to reduce blight risk, and check the undersides of leaves now and then for the fat green caterpillars that can strip a plant in days. A pot-grown tomato will not last forever, but with steady watering, a weekly feed and regular picking, it will earn its space on the patio well into autumn.
Photo: AdamNir / Pixabay